Search This Blog

Monday, August 12, 2013

Wine Glass Painting

I recently visited a local winery for a wine glass painting event and look what I did:
 
 
There was an art teacher there to walk you through different technics for painting flowers but overall you could do what you wanted.  
 
If you are interested in doing any of your own glass paintings, here are the basics you need to know:
 
1. Clean glass with rubbing alcohol before painting.
 
2. Use enamel paints.
 
3.  To set paint - put glassware in a cold oven, heat to 350 degrees, bake for 20 minutes, turn oven off and let glass come back to room temperature in the oven. 
 
4.  Handwash glasses.
 

Melted Crayon Art

There has been a lot on Pinterest with melted crayon art and with back to school crayons prices, I figured it was about time to give it a try.
 
First I painted my canvas with a nature-y landscape. 
 
 
Then I scoured my daughters box of crayons for every hue of green I could find and supplemented with a few new crayons.
 
Since most of the crayons I was using were old broken nubs, I opted to peel the paper off.
 
Then I hot glued the crayons to the canvas.
 
  Helpful tip:  put the hot glue on the canvas and  push the crayon onto it.  Otherwise the hot glue will instantly melt the crayon in your fingers resulting a minor burns and a few choice words that shouldn't be used in front of your children. 

 
To melt the crayons I used my craft heat gun but I hear a blow dryer set on the hottest setting works too.  I held the canvas at a slight inverted angle so the melted crayons would "grow" up the canvas. 

 
Then I popped the heads off some clearance out daisies and hot glued those to the canvas as well. 
 
To completely finish the project I'm hoping to run across a garage sale or seriously clearance out picture frame that I can remove the glass and pop the canvas in its place. 

Thursday, July 25, 2013

Holly's blanket

Darn that third child in the family.  They get the best of everything.  While the other two have simple "blue blankies" (that they love and adore by the way), the third child gets the 'Momma had ambition and desire to accomplish something' blanket.
 
I purchased 6 - fat squares or big squares or whatever the precut 18x21 inch squares of material at JoAnn Fabrics.  I cut each of them into 4 - 4 inch strips.  Then sewed two of them end to end to create a long strip. 

 
I then bought 1/3 yard of the black material to sew a 6 inch strip on the top and bottom.  This was mostly to add length but also because the quilt binding (I'm purchasing the satin 2 1/2 inch stuff) would have covered almost all of the 4 inch strips.  Make sense?
 
I also purchased a flannel fairy piece of material to sew on the backside to give extra warmth and snuggle-ness to the quilt.

 
To bind the entire quilt together I sewed (almost) straight lines down the quilt.  The only thing left for me to do is decide what color binding I want.  For those who know me, know that I'm leaning towards a warm and cozy gray color.  It coordinates with all the colors on the front and goes perfectly with the pink on the back. 
 
I'm trying to break out of my shell, step out of my box, go out on a limb and trying to envision this quilt with a binding of a different color but can't.  So I'm asking for a little help.  If this were your project, what color binding would you add??

Z is for Zebra


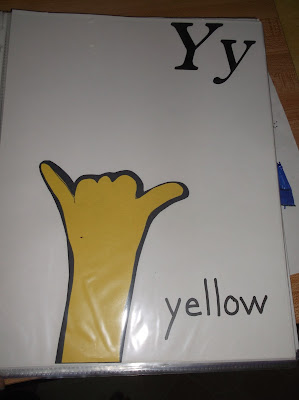
Y is for Yellow


X is for Xray


W is for Whale